


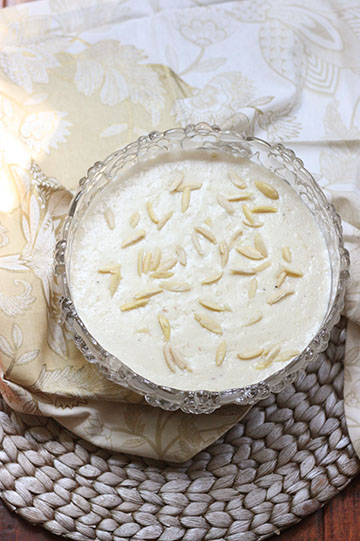
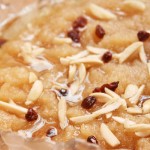
Kheer
Benefits of parents-in-law visiting #108: I finally learned how to make kheer!
Disclaimer: I’m not the biggest kheer fan out there. (More of a firni girl.)
For the record, that has nothing to do with the fact that I have to know how to make killer kheer.
I do enjoy it mildly, on occasion, but it is one of the most popular Pakistani desserts and so it’s good to have the recipe and technique down in case you need to whip it out for a potluck or party or whatnot.
My mother-in-law made it once when she was visiting us many years ago, and I really liked it. I tried to make it like she did a couple of times after she had left, with little success. That was 5-6 years ago. Since then, I never tried to make kheer again, until her most recent visit. Of course, this time I was far more prepared, armed with my camera and notebook. Watching her make it gave me the confidence to try again, and AH, it turned out to be a Eureka! moment!
Kheer
On a side note, my aunt, who is the Queen of Fabulous Shortcut Cooking, often used to make kheer using large store bought tubs of rice pudding, boiled with some milk (to adjust consistency) and green cardamom and garnished generously with ground pistachios. It only barely made it to the table before it was polished off by everyone. I did attempt that once too, but I was a novice cook and just went on the vague idea of what I had seen her do. Of course it didn’t work, I didn’t know anything then! But something to think about now…!
But if you’re making kheer from scratch, keep in mind that it needs some time, and possibly, effort. It is not a ready in minutes dessert if you’re not going the semi homemade, rice pudding way.
In my opinion, what makes a great kheer is the absolute fluffiness of the rice, the thickened milk and the creamy texture.
Kheer
The rice has to be so tender that it should just be a puffed up fluff ball. You will still feel the rice because it is kheer, not firni (made with rice powder) and it will also give off its starch as you mix it with the milk, thickening the dessert.
As for thickening the milk; you could consider another shortcut and use evaporated milk. But that has a very different taste from actually cooking down the milk. That’s not necessarily a bad thing and it will definitely cut down the time and effort, but if you want the proportions, don’t look at me! I’ve never tried it!
[But ok, if I was going to guesstimate, I would say two 12 oz cans and then eyeball it; add whole milk as needed.]
About the creaminess, well, I like it creamy, but how thick you want the kheer is entirely up to you. There is no hard and fast rule, it is really all about personal preference (and it takes some experience). But remember, that kheer will thicken considerably as it cools, especially overnight in the fridge. So, keep that in mind when you’re cooking it.
Now, lastly, there is a special tool that I am recommending for this recipe, because my mother-in-law insisted that she couldn’t make good kheer without it (despite all my protests that she already made it once without it all those years ago). What can I say, when I went into the desi store, it appeared right in front of my eyes even though I wasn’t looking for it. I admitted defeat and bought it as it was very clear that her prayers that I would find it had been answered.
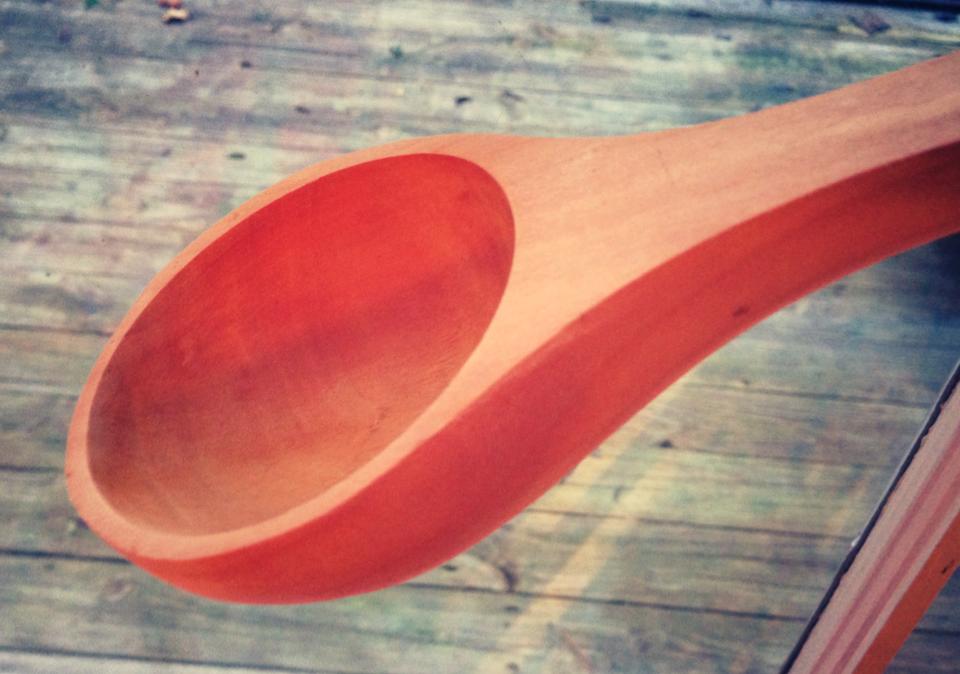
Special Spoon
For a substitute, maybe use a whisk, and stir quickly with it especially toward the end, or maybe a rough chop in the food processor. If your food processor grinds things up too fine then it’s not recommended because the kheer will lose its characteristic texture.
Oh just do it in the food processor if you have no other option. It will still taste great! The only way I learnt how to cook was by trying all the things that people said you’re not supposed to do. I am all about making it work using what you have on hand. But if all you have is a blender, then it will turn into firni. (Hm. And that is bad, how….?)
I think the most important thing when cooking anything is understanding what it is that we are trying to achieve. Once you set your goal, then you can decide which path to take in order to achieve that goal, and you can deal with any stumbling blocks on the way accordingly.
Kheer
Take, for example, kheer: These are the things that we are trying to achieve:
a) the rice should be absolutely tender and mashed to a mush
b) the milk should be reduced and thickened
c) the milk and rice are mixed together with green cardamom and sugar
Once you know that these are the things that you have to do, then you can follow either of the two methods (or any other) to reach your objective.
Now, let’s say you boiled the rice in 3 cups of water like the recipe says, but for some reason the rice wasn’t that tender. But you go on to the next step because you are only following the recipe.
But when you understand that you are trying to get the rice to be very, very soft, then you will think of what you can do to achieve that. You might decide to add more water and let it cook a while longer, or you might decide to add it as it is to the milk and cook it on low heat until you are satisfied with the texture.
Kheer
Similarly, whether you want to break the rice grains after boiling the rice or whether you want to do it right at the end is again up to you. The main thing is that you have to do it at some point before you deem the kheer ‘ready.’
I think it’s a good idea to break a recipe down. It will help you understand why you are doing each step and put you in a position to be able to solve any problems.
[Sorry if I went too much into the basics! But some readers are doing this for the first time!]

Kheer
This recipe is so easy to remember! Everything is a half.
Kheer Recipe
Ingredients:
- ½ cup basmati rice
- ½ gallon whole milk/8 cups/2 quarts
- ½ cup sugar/One 14 oz can sweetened condensed milk
- ½ tsp green cardamom powder/ground green cardamom
- Nuts for garnishing
Special tool: wooden spoon available at desi stores.
Method I:
Soak the rice overnight.
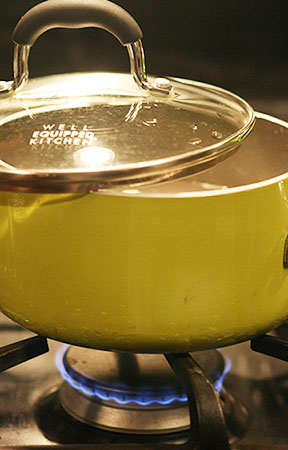
In a heavy bottomed pot (not non-stick- I will explain why at the end of this method) put in the milk and green cardamom and bring to a boil.
Drain the rice and add to the milk.
Reduce the heat to low and let it cook uncovered until the rice is very tender. (Let it take as many hours as it needs, whether it’s 2, 3 or 4! The rice has to be absolutely tender.)
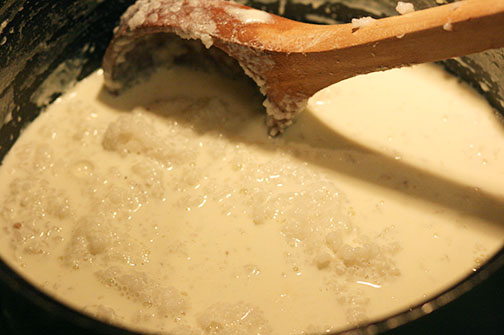
Add the sugar and ghotofy with the special wooden spoon. That means mix strong and hard, trying to mash the rice grains as much as possible and turn them into mush.
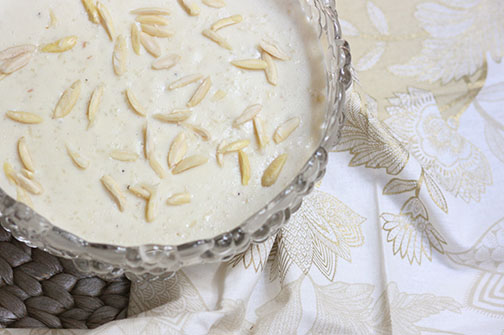
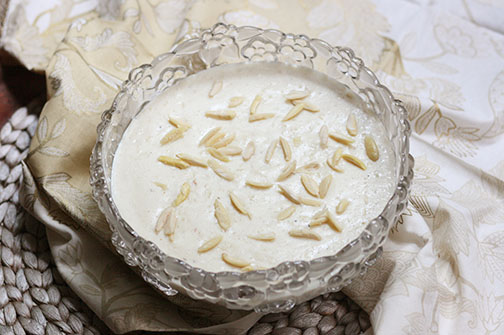
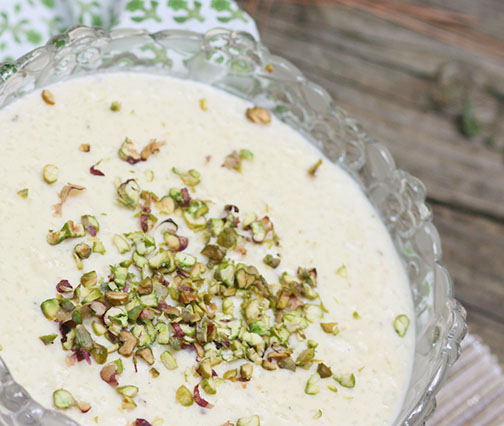
Remove from the heat and put into a serving dish. Garnish with your favorite nuts (usually almonds, pistachios and/or cashews). Kheer is usually served at room temperature or chilled.

Kheer
Notes:
The reason that a non stick pot is not recommended for this method is that when you leave the milk to cook on low heat without stirring, it will ‘burn’ at the bottom. It’s a thin layer at the bottom of the pot and it doesn’t affect the taste of the rest of the milk, it doesn’t taste burnt, trust me. But when you’re using a non stick pot, this layer will mix in with the rest of the kheer when you stir, and you will see brown bits floating in the dish. In a pot that is not non stick, it will stick to the surface of the pot and it will not mix in with the kheer.
Phew! That was a lot of nons and a lot of sticks. Hope it made some sense. I think you’ll start to get it after you read it for the third time. It will become painfully clear if you use a non stick pot with this method. HA HA.
The major benefit of using this method is that you don’t have to stand by the stove for hours stirring the milk.
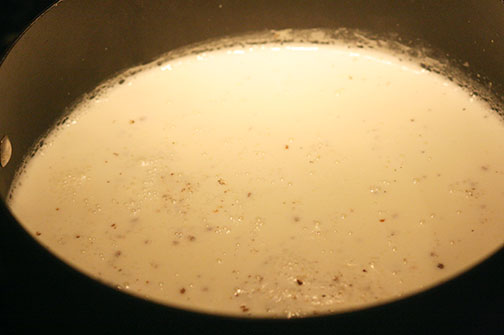
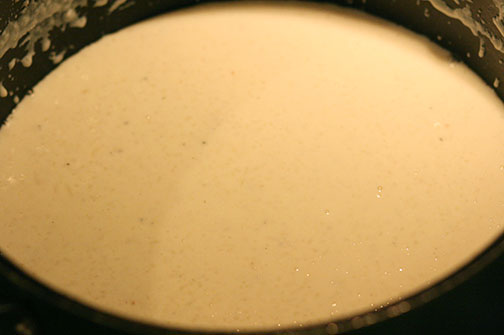
As the milk cooks down, it takes on a yellowish tinge.
For an even thicker kheer, you can use half and half instead of milk.
Personal preference: I think condensed milk tastes better than sugar in kheer.
Method II
This is the standard kheer making method that I made with success using my MIL’s fabulous proportions!
Soak the rice overnight.
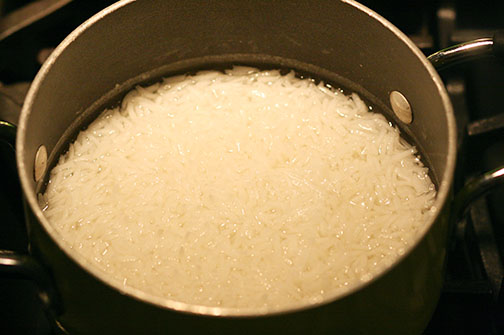
Bring 3 cups of water to a bubbling boil.

Add the rice.
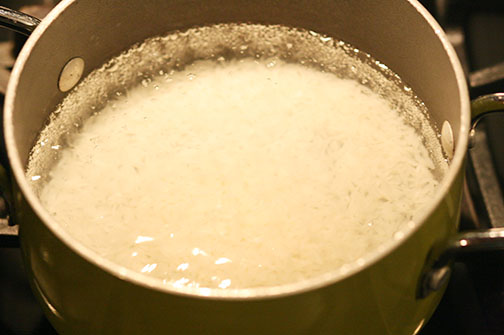
Reduce the heat to medium low,
and cook partially covered until the water is level with the rice.
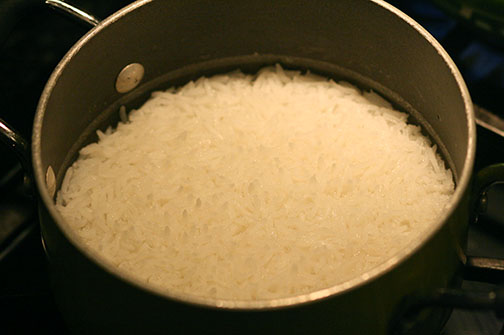
Cover and cook just until all the water evaporates. The rice should be very tender. Remove from heat.
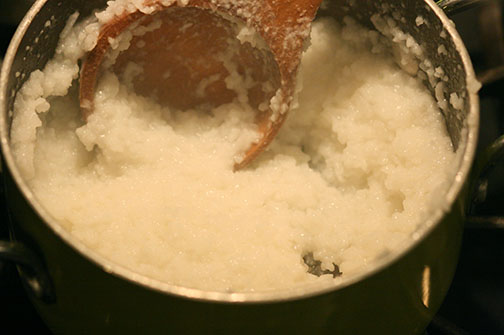
Using the Special Wood Spoon, (that thing works like magic!) stir the rice until it turns into mush!
While the rice is cooking, bring the milk and green cardamom to a boil in a pot (you can use non stick as long as you keep stirring frequently, if not constantly). Cook the milk down until about half is left.
[I suggest you make some room on the counter (or get a high stool), take out your book and make yourself comfortable. You’ll be there for a while. I have such vivid memories of my mother stirring the milk for hours, book in hand. And now I do the same.]
I stir very often and keep the heat on medium high.
[You will be in danger of having the milk boil over though, and you’ll have to keep reducing the temperature to bring the milk down again. But it does take less time. However, if you’re reading while doing this, then it’s better to keep the milk at a constant simmer, closer to medium heat while stirring constantly.]

Add the mushy rice to the milk.
I think I used a whisk to remove any lumps.
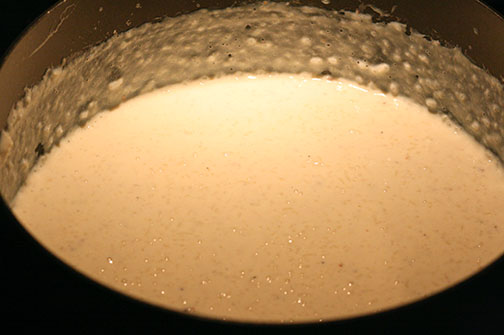
Initially, it will drown in the milk. Cook, stirring often with the Special Spoon. Now, it all depends on you. How thick do you want the kheer? It will thicken considerably in the fridge too. Keep that in mind. For me, a good thickness is when the rice is level with the milk. After that point, it starts to get really thick.
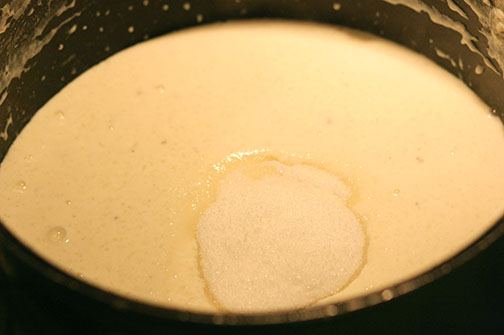
The rice is level with the milk.
Add the sugar or condensed milk, whatever you’re using.
Mix it in well and bring to a boil.
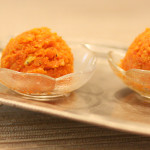
Remove from heat, pour into a serving dish and garnish with nuts. Pretty pretty.

Kheer
Well. I may not have labored over the decoration but you can make all kinds of patterns! I’ll leave you to it!
For all the latest updates, please ‘like’ Zabiha Bites on Facebook by clicking here.
I recently made kheer and it got stuck to the bottom..then I had brown bits all over…so gross…tasted fine but looked horrible…then I searched why it happened…turns out I used a non-stick pot….now I’ll try your method and see the diff…but I don’t have a special spoon… Wish me luck
🙂 all the best! If you don’t have ‘the spoon’ then please make sure to cook the rice until very, very tender so that when you mix it with a regular spoon it mixes in well.
Amina, I remember reading while making kheer so well. I could read a novel with a clear conscience as i was making kheer and nobody ever disturbed me at that time, as everybody was looking forward to having bowlfuls of this yummy desert. Now I don’t have to spend too much time stirring as I add sugar to milk right at the beginning with cardamoms and nuts and let it simmer on its own until it is thickened. In the meantime in another pot the rice is softened. After mashing the rice grains well, I mix the two and cook them for a much shorter time and the kheer is ready. My indication for kheer or haleem to have the required consistency is when little bubbles spatter out of the pot. Protect your hands and turn off the flame.